
Creating a WordPress website can seem overwhelming, but it’s actually quite simple, even for beginners. WordPress is designed to be user-friendly, so you don’t need to be a tech expert or web developer to build WordPress site. With its easy-to-use widgets and straightforward design, you can develop your website in just a few simple steps. Whether you want to start your WordPress website for a blog, an online store, or a personal project, WordPress provides all the tools you need. So let's see how to create a WordPress website for beginners in quick steps.
Following are the Steps to Create a New WordPress Site:
Step 1: Choose Hosting Provider and Domain Name

Choosing the right hosting provider and domain name is the first crucial step when you make a WordPress site. Your hosting provider stores your website's data and ensures it's accessible online. Reliable hosting providers like Bluehost, SiteGround, and HostGator offer one-click WordPress installations and user-friendly services. Select a hosting plan that meets your website’s needs, whether you're making your WP website for a simple blog or a more complex e-commerce site.
Equally important is selecting a domain name, which will be your website's address on the web (e.g., www.yoursite.com). Your domain name should reflect your brand or website’s purpose and be easy to remember. Ensure your domain name is unique and relevant, as it will be the first impression visitors get of your site. Once you’ve secured your hosting and domain, you can proceed with setting up your site.
Step 2 : Install the Desired WordPress Theme
Moving further in the guide for how to create a WordPress website for beginners we need to setup a WordPress theme, the next step is to install a WordPress theme to give your website the look and feel you want. When setting up your WordPress website, choosing the right theme is crucial for achieving your desired look and functionality.
1. Ecommerce Store WordPress Theme

The Ecommerce Store WordPress Theme is an ideal choice for businesses looking to set up a robust online store with minimal hassle. This theme is designed specifically for e-commerce, offering a range of features that cater to various online selling needs.
- User-Friendly Design: The theme provides a clean, modern design that ensures a smooth shopping experience for customers. Its intuitive layout makes navigation easy, helping users find products quickly and efficiently.
- Customizable Product Pages: It includes customizable product pages that allow you to showcase products with high-quality images, detailed descriptions, and pricing information. This flexibility helps in presenting your products in the best possible light.
- Built-In E-commerce Features: The Aster Ecommerce Store theme comes with built-in features such as shopping carts, secure checkout options, and inventory management tools. These features streamline the buying process and improve overall customer satisfaction.
- Mobile Responsiveness: The theme is fully responsive, meaning it looks and functions perfectly on all devices, including smartphones and tablets. This is crucial for attracting and retaining customers who shop on mobile devices.
2. Online Store WordPress Theme
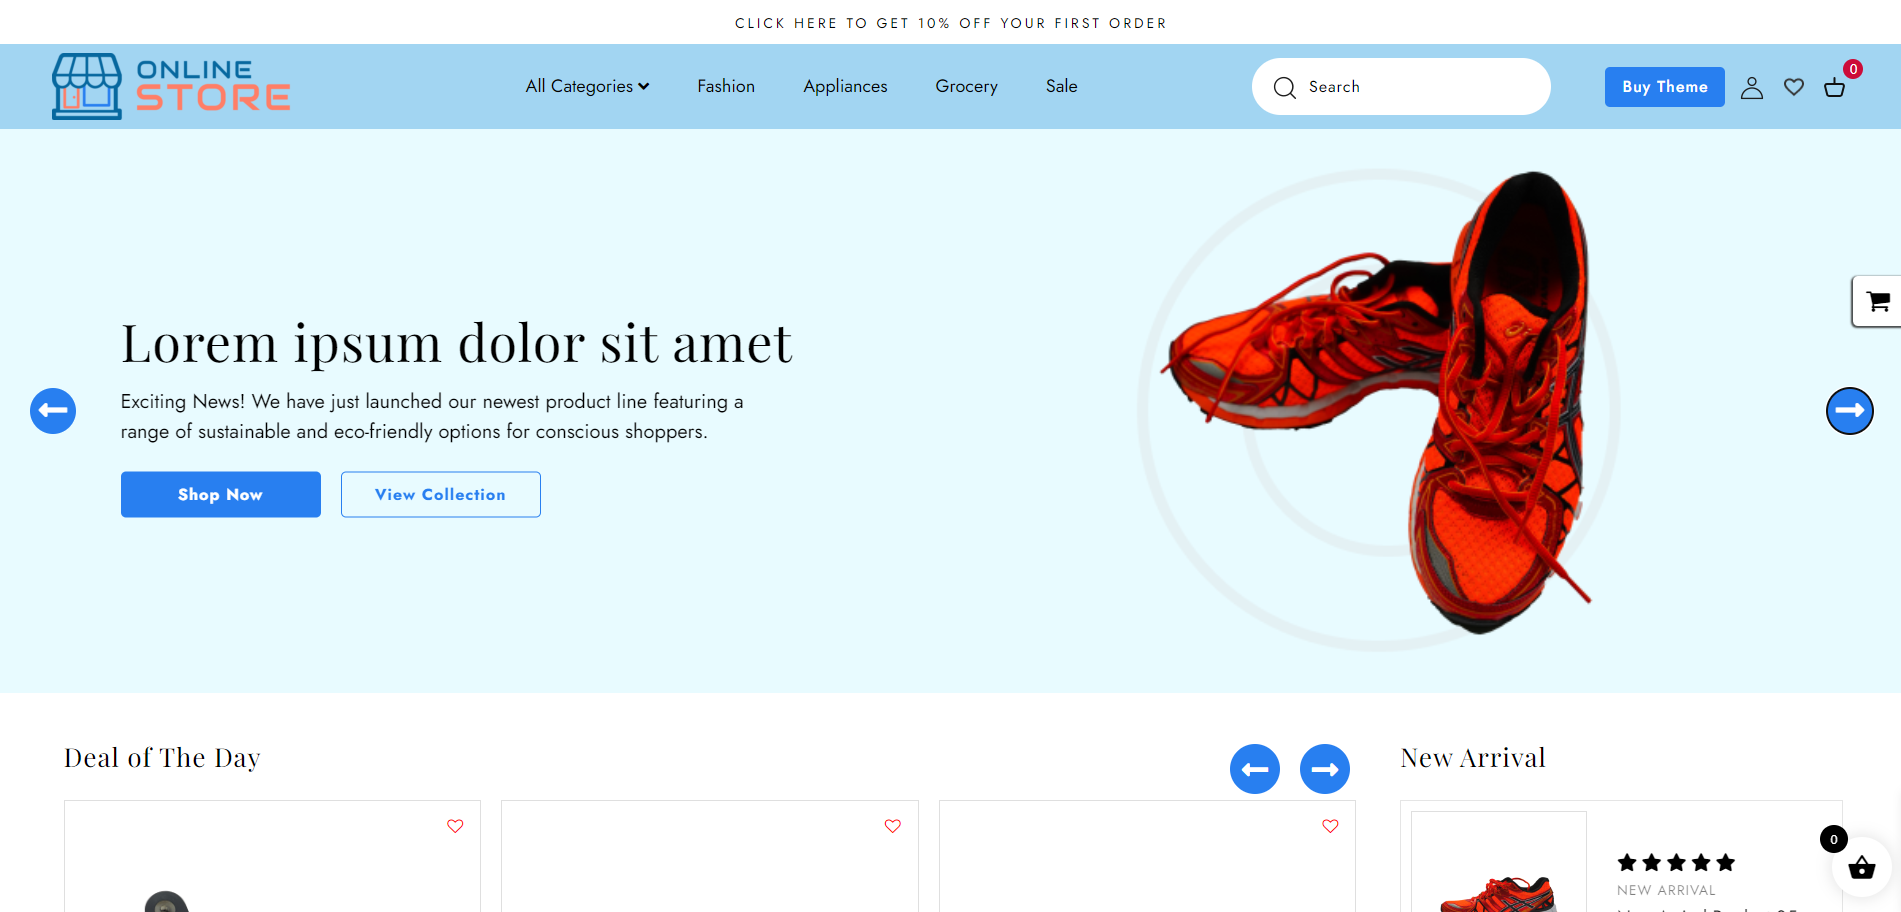
The Online Store WordPress Theme is tailored for those who want to create a sleek, user-friendly online store with a focus on product presentation and customer engagement. If you are struggling with how to create a WordPress website for beginners? Then this theme is surely for you.
- Elegant Design: The theme features an elegant and visually appealing design that highlights your products and creates a pleasant shopping environment. Its clean layout and modern aesthetics are perfect for showcasing a range of products.
- Advanced Customization Options: It offers a variety of customization options to match your brand’s style. You can easily modify colors, fonts, and layouts to create a unique look that resonates with your target audience.
- Seamless Integration with E-commerce Plugins: The Aster Online Store theme integrates seamlessly with popular e-commerce plugins, providing you with additional functionalities such as advanced payment gateways, shipping options, and customer management tools.
- Product Filters and Search: This theme includes advanced product filtering and search options, allowing customers to quickly find what they’re looking for. This feature enhances user experience and can lead to higher conversion rates.
- Responsive and Cross-Browser Compatible: The theme is responsive and works well across different browsers and devices. This ensures that your online store is accessible and functional for all users, regardless of the device they use.
3. Storefront WordPress Theme

Storefront WordPress Theme is designed for those looking to create a modern, high-performing online store with a focus on ease of use and optimal customer experience. It provides a flexible foundation for any type of e-commerce business, from small boutiques to large-scale retailers. With its streamlined design and powerful features, Storefront ensures your store not only looks great but also performs efficiently.
- Clean and Minimal Design: The theme features a sleek, minimalistic design that puts your products front and center, providing a clutter-free shopping experience. Its simple layout is perfect for any type of store, allowing your products to shine without distractions.
- Extensive Customization Capabilities: Storefront offers robust customization options, enabling you to tailor your site to fit your brand’s unique identity. You can easily change colors, typography, and layouts, giving you complete control over the appearance of your store.
- Optimized for WooCommerce Integration: Seamlessly integrated with WooCommerce, this theme offers native compatibility with essential e-commerce features such as multiple payment gateways, product catalog management, and inventory control, ensuring a smooth shopping experience for both store owners and customers.
- Intuitive Navigation and Search: Equipped with advanced navigation options and an intuitive search bar, Storefront helps customers find the products they need quickly, leading to an improved user experience and increased sales potential.
- Fully Responsive and Mobile-Ready: The theme is fully responsive, ensuring your online store looks flawless on any device. Whether customers are browsing on desktops, tablets, or smartphones, they’ll enjoy a consistent and smooth shopping journey.
These Aster themes offer excellent solutions for different e-commerce needs, making them preferable choices for anyone looking to build a standout online store. Now let's keep going with how to create a WordPress website for beginners.
Here’s how you can install Aster themes on WordPress:
- Log in to Your WordPress Dashboard: Start by logging into your WordPress admin area. You can access this by going to www.yourdomain.com/wp-admin, entering your username and password, and then clicking "Log In."
- Go to Appearance > Themes: Once logged in, navigate to the sidebar menu on the left. Click on Appearance, then select Themes. This is where you can add new themes to your site.
- Click on 'Add New': At the top of the Themes page, you'll find an Add New button. Click on it to search for new themes.
- Search for Aster Themes: In the search bar, type "Aster themes" to locate the theme. Once the results load, find the Aster themes and click on Install.
- Activate the Theme: After the installation is complete, click Activate to make Aster your website’s active theme.
- Use Premium Aster Theme: For this, visit Aster Themes website, Go to Creative WordPress Themes collection page, purchase your desired theme and unlock the zipped file. Go to dashboard, Appearance > Add New theme > Upload Theme. Here, upload your theme and that's it.
- Customize Your Theme: Once the Aster theme is activated, you can start customizing it according to your preferences. Go to the Customize option under Appearance to change the layout, colors, fonts, and other settings.
With Aster installed and activated, you’re ready to personalize the theme and build your website's design! Let's go further with how to create a WordPress website for beginners.
Step 3 : Install Required WordPress Plugins
Plugins are essential tools that add extra features and functionality to your WordPress website. Whether you need to improve security, optimize SEO, or add contact forms, plugins make it easy to customize your site without any coding knowledge. Here’s how to install WordPress plugins:
- Access Your WordPress Dashboard: Start by logging in to your WordPress dashboard at www.yourdomain.com/wp-admin. Once logged in, you’ll have access to all the features of your website.
- Navigate to the Plugins Section: On the left-hand side of your dashboard, find and click on Plugins. Then, click on Add New to start the process of installing a new plugin.
- Search for the Plugin: In the search bar, type the name or type of plugin you want to install. For example, you might search for popular plugins like Yoast SEO, Wordfence Security, or Contact Form 7 depending on your site’s needs.
- Install the Plugin: Once you find the plugin you want to use, click on the Install Now button. The installation process will begin immediately.
- Activate the Plugin: After installation, you’ll see an option to Activate the plugin. Click Activate to start using the plugin on your website.
- Configure Plugin Settings: After activation, many plugins have their own settings page, which you can access from the sidebar menu or the Plugins section. Here, you can customize the plugin to suit your website's needs.
By following these steps, you can install and activate any WordPress plugin to improve your website’s functionality and provide a better user experience.
Step 4 : Import Demo
Importing a demo makes it easy to get your website up and running by providing a ready-made layout and design. Many WordPress themes, including Aster, offer demo content to give you a head start. Here’s how you can import a demo:
- Install a Demo Import Plugin (If Necessary): Some themes come with their own demo import feature, while others might require you to install a plugin like One Click Demo Import.
- Access the Demo Import Option: Once you’ve activated your theme, go to your theme’s settings or options panel in the WordPress dashboard. Look for the Import Demo Content or Starter Templates option. For example, in Aster themes, this option is usually found under Appearance > Import Demo.
- Select a Demo Template: Browse through the available demo templates. Choose one that matches your site’s purpose (e.g., blog, portfolio, business). Click Import next to the desired demo.
- Import the Content: The demo will automatically install and set up the theme’s layout, pages, and sample content on your website. Depending on the size of the demo, this process may take a few minutes. Once the import is done, you’ll have a fully designed website that you can customize.
Step 5 : Configure Customizations
What is the next step in how to create a WordPress website for beginners. After importing the demo, it’s time to make the site your own by configuring customizations. You’ll be able to change the design, colors, fonts, and layout to suit your brand or personal style:
- Go to the WordPress Customizer: In your dashboard, navigate to Appearance > Customize. This will open the WordPress Customizer, where you can make real-time changes to your site and see a live preview.
- Edit Site Identity: Customize your site’s title, tagline, and upload your logo under the Site Identity section. This is important for branding and helps visitors recognize your website.
- Change Colors and Fonts: Under the Colors or Typography section, you can adjust the site’s color palette and font styles to match your preferences or branding. Many themes, including Aster, offer extensive customization options.
- Customize Layout and Widgets: You can change the header, footer, and sidebar layout. Add or remove widgets, like social media icons, search bars, or recent posts, to enhance functionality.
- Update Menus and Navigation: Go to Menus to update your website’s navigation links. Ensure all the important pages like Home, About, Contact, and Blog are easily accessible to your visitors.
Step 6 : Publish Your Site
Once you’ve customized your website to your satisfaction, it’s time to make it live for the world to see. Here’s how to publish your WordPress site:
- Review Your Website: Before publishing, go through each page to ensure everything looks good. Check for broken links, missing images, and any formatting issues.
- Set Up Your Homepage: If you want a static homepage instead of displaying your latest posts, go to Settings > Reading and choose A static page. Select your homepage and blog page from the dropdown menus.
- Check Mobile Responsiveness: With more people browsing on mobile devices, it’s important to ensure your site looks good on smaller screens. Use the preview feature in the WordPress Customizer to check how your site appears on mobile and tablet.
- Publish the Site: After final checks, click Publish in the WordPress Customizer. Your website is now live and accessible to visitors through your domain name. Now you've completed on how to create a WordPress website for beginners.
Step 7 : Market Your Website
Launching your website is only the beginning. To attract visitors and grow your audience, you need to market your site effectively. Here are a few strategies to get started:
- SEO Optimization: Use an SEO plugin like Yoast SEO or Rank Math to optimize your site for search engines. This includes writing keyword-rich meta descriptions, optimizing images, and ensuring your site has fast loading times.
- Social Media Promotion: Create social media profiles for your website or business and share regular updates, blog posts, or product announcements. Platforms like Facebook, Instagram, and Twitter are great for building an audience.
- Create Valuable Content: Start a blog or add a portfolio section to showcase your work. By regularly publishing high-quality content, you can drive traffic to your website and improve your SEO ranking.
- Email Marketing: Collect email addresses through signup forms on your site and send newsletters or updates to your subscribers. Plugins like Mailchimp or MailerLite can help with email marketing.
By following these steps, you can successfully create, launch, and promote your WordPress website, even as a beginner!
Conclusion :
FAQ’s
1. What is WordPress, and why should I use it to create a website?
Answer: WordPress is a popular content management system (CMS) that allows you to create and manage websites easily. It’s user-friendly, requires no coding skills, and offers thousands of customizable themes and plugins, making it a great choice for beginners who want to build a professional-looking site.
2. Do I need coding knowledge to create a WordPress website?
Answer: No, you do not need any coding knowledge to create a WordPress website. WordPress offers a simple drag-and-drop interface and a wide range of customizable themes and plugins that allow you to build your site without touching a single line of code.
3. What is the difference between WordPress.com and WordPress.org
Answer: WordPress.com is a hosted platform where WordPress takes care of everything for you (hosting, security, etc.), but it has limited customization. WordPress.org is a self-hosted platform where you have full control over your site’s design, plugins, and features, making it ideal for users who want flexibility and more advanced customization.
4. How do I choose the right hosting provider for my WordPress site?
Answer: When choosing a hosting provider, consider factors such as performance, security, customer support, and pricing. Popular hosting providers like Bluehost, SiteGround, and HostGator offer affordable plans, one-click WordPress installations, and reliable service for beginners.
5. What are WordPress plugins, and why are they important?
Answer: WordPress plugins are add-ons that extend the functionality of your website. Whether you need contact forms, SEO tools, or social media integration, plugins make it easy to enhance your website without the need for custom development.
6. How do I customize the design of my WordPress website?
Answer: You can customize your WordPress website by using the Customizer found in your dashboard under Appearance > Customize. Here, you can modify elements like colors, fonts, headers, footers, and more. Additionally, most themes offer built-in customization options.
7. Can I make my WordPress site mobile-friendly?
Answer: Yes, many WordPress themes are mobile-responsive, meaning they automatically adjust to different screen sizes. You can further optimize your site for mobile by using plugins and checking its mobile responsiveness in the WordPress Customizer.